The Sparkling Sewing Set: Pomegranate Needle Book & Pinkeep
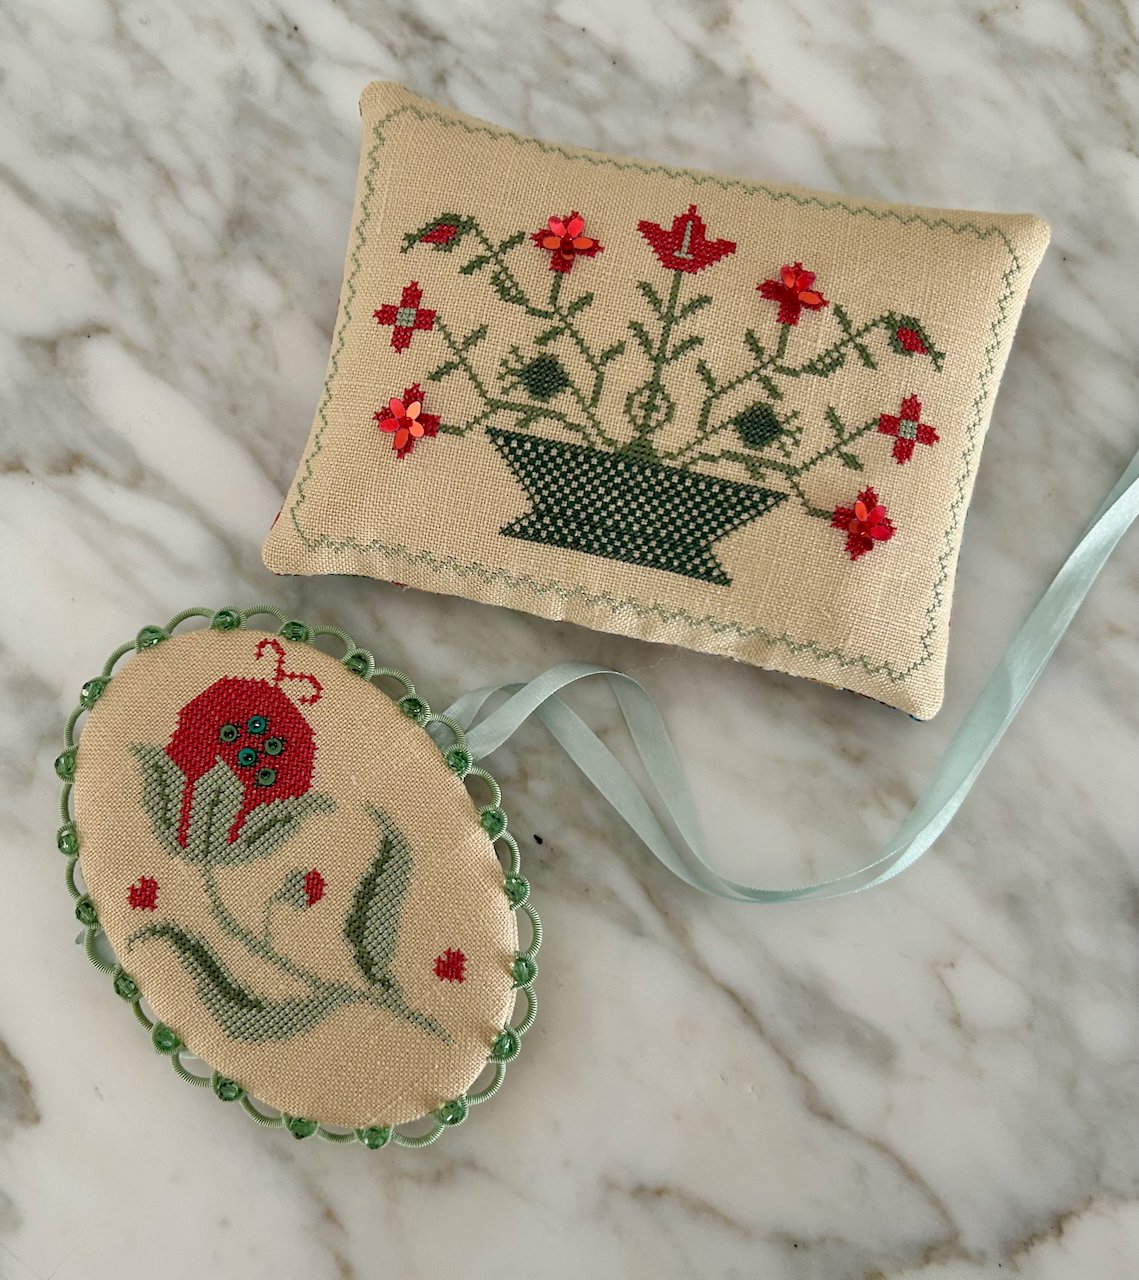
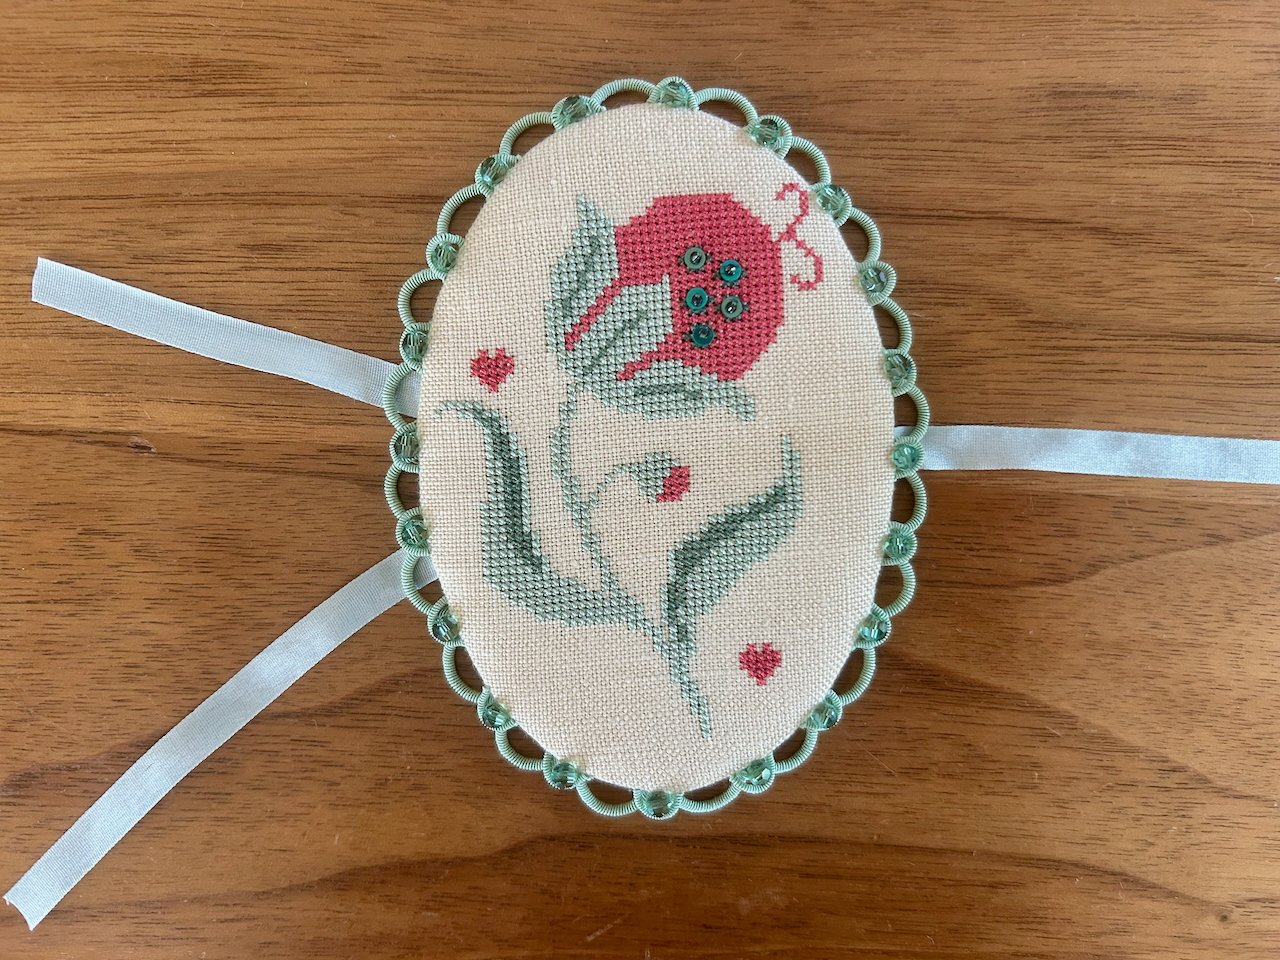
Pinkeep:
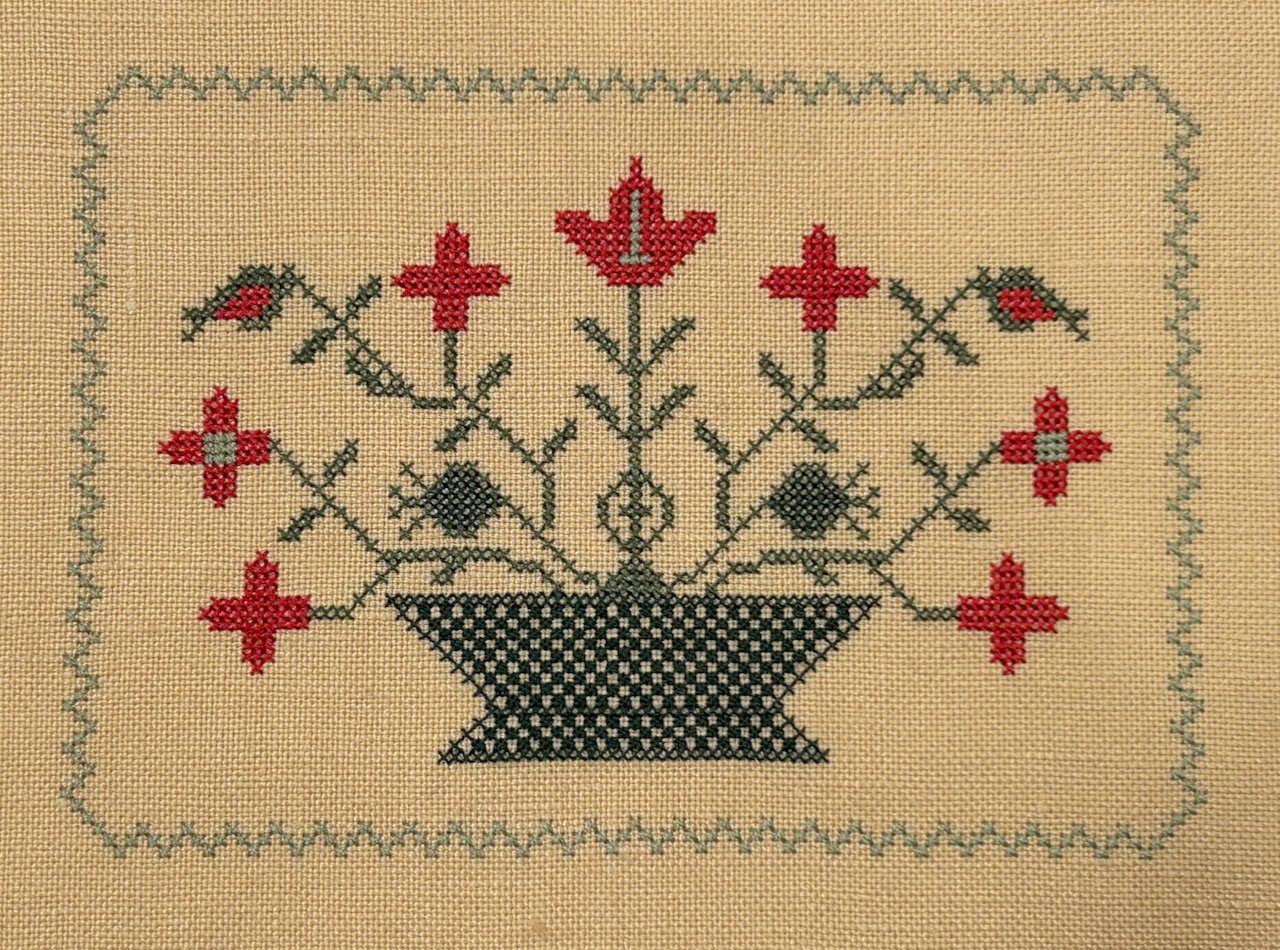
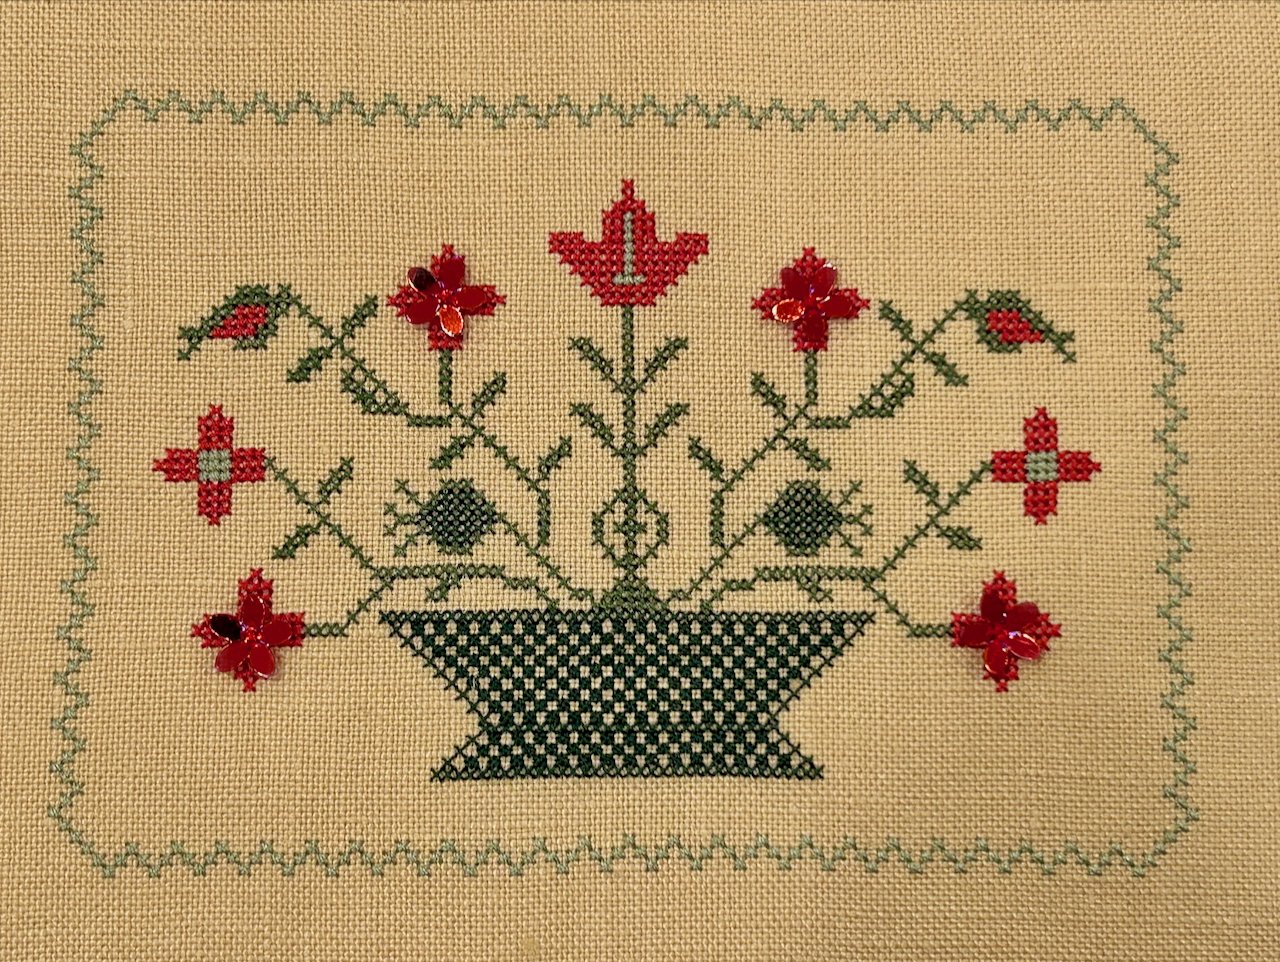
As detailed in the written guide to your conversion, I made a few changes - above is the stitched piece before it was embellished and finished. Notably, I omitted the interior border, the basket is filled with rice stitch, the rosebuds flanking the center stem were filled with the darker green, and the four flowers that I added sequins to were stitched as a solid block, without the contrast center. You can find my tutorial on embellishing cross stitch with sequins here. Below, the pinkeep with embellishments added:
Needlebook:
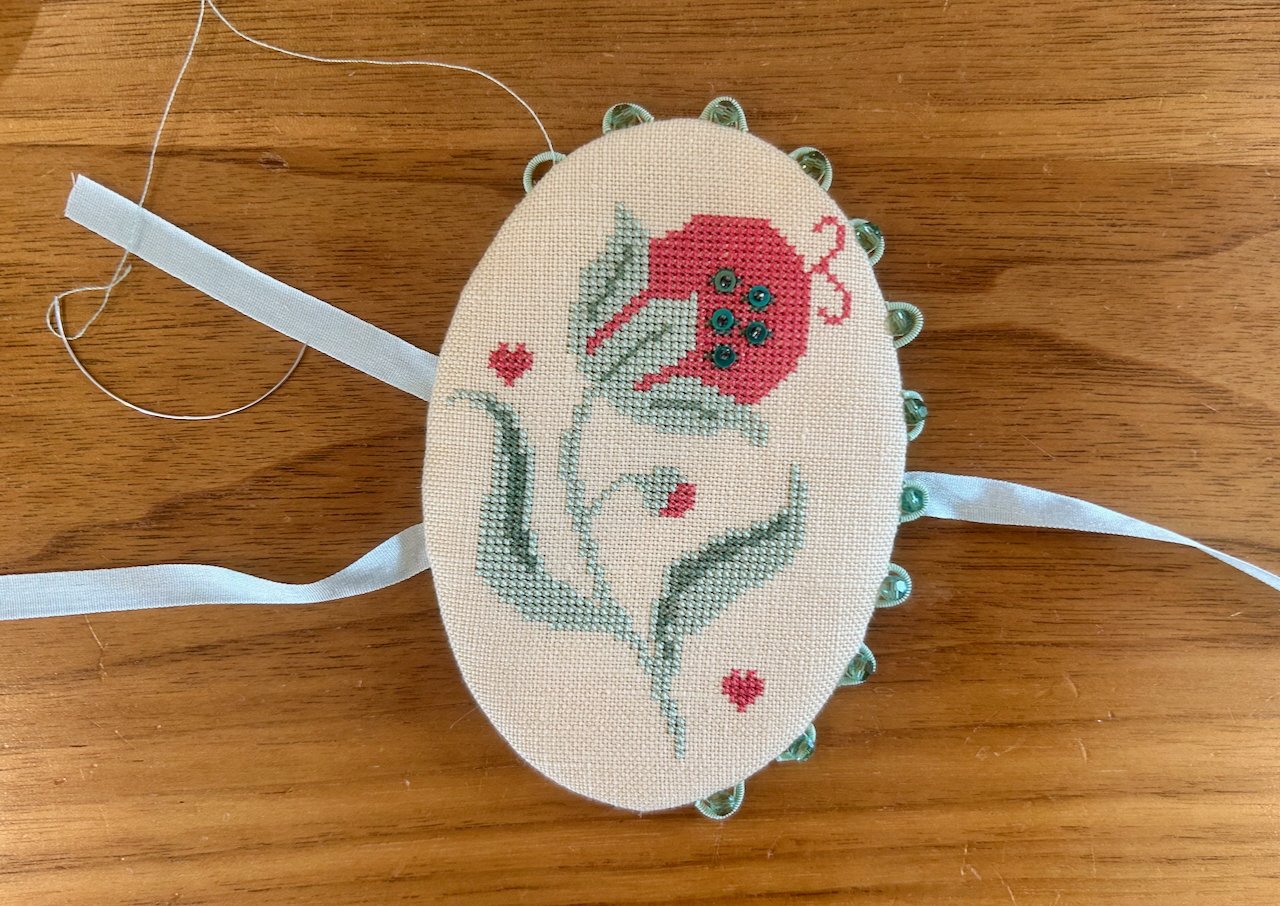
This finish features heavy embellishment, both with added sequins and beads, and a sparkling silk wrapped purl edging. Once I finished my stitching on the needle book, I blocked my finish following the tutorial here, and then stitched on the included green sequins and beads, following the tutorial here.
If you did not purchase a finishing pack but would like to add an edging and some sparkle, the crystal color used in the full finishing pack, Erinite, also comes in a larger 6mm briolette (there was also a 4mm briolette available but no longer seems to be in stock at retail): https://artbeads.com/jewelry-supplies/prestige-crystal-5040-6mm-briolette-bead-erinite-5040-ern6/
The silk wrapped purl used, color 1831, is still available in size super although it is completely sold out in size 4, the larger size I used on my own edging. You can call Needle in a Haystack in Alameda, California, to order - to do a full double edging you’ll probably need 2 boxes of size super purl.
The full range of readily available beads in Erinite can be found here, if you’d like to play with bicones or rounds instead: https://artbeads.com/prestige-color-erinite/
The coordinating seed beads for your green sequins would also make a good beaded picot edging, which are Miyuki 15-1423, dyed silverlined dark olive.
The sparkling silk wrapped purl edging tutorial can be found here, for this finish you will use 1/2” cuts of the size super purl, and 3/4” cuts of the size 4 purl: note that this is a shorter cut of the size 4 purl than called for in the original tutorial. The shorter scallops are intended to reduce the size of the edging so the needlebook can open and close. You can of course use a 7/8” for a bolder look - you have plenty of purl.
Your kit includes enough crystals for your needle book finish, but will not use up all your silk wrapped purl. If you would like to purchase extra crystals to use with your silk wrapped purl, you can find them here
This finish uses my previously published pinkeep finishing tutorial: https://youtu.be/oS_mdoLZcx8
But with one important variation if you are doing the sparkling silk wrapped purl edging: do not assemble the full pinkeep before you have added the silk wrapped purl edging
Above, you can see the needle book being assembled - I have fully assembled the top of the needle book, having sewn in the ribbon tie (right side) and two ribbon hinges (left side), and stitched in the lining. Now I am adding the first layer of loops for the silk wrapped purl edging before adding the size 4 backing loops.
Top piece of needlebook fully assembled, with silk wrapped purl edging, ready for final needle book assembly
When you put the full needle book together, pin the hinges into place and test that it opens - the silk wrapped purl edging adds bulk that you need to account for.
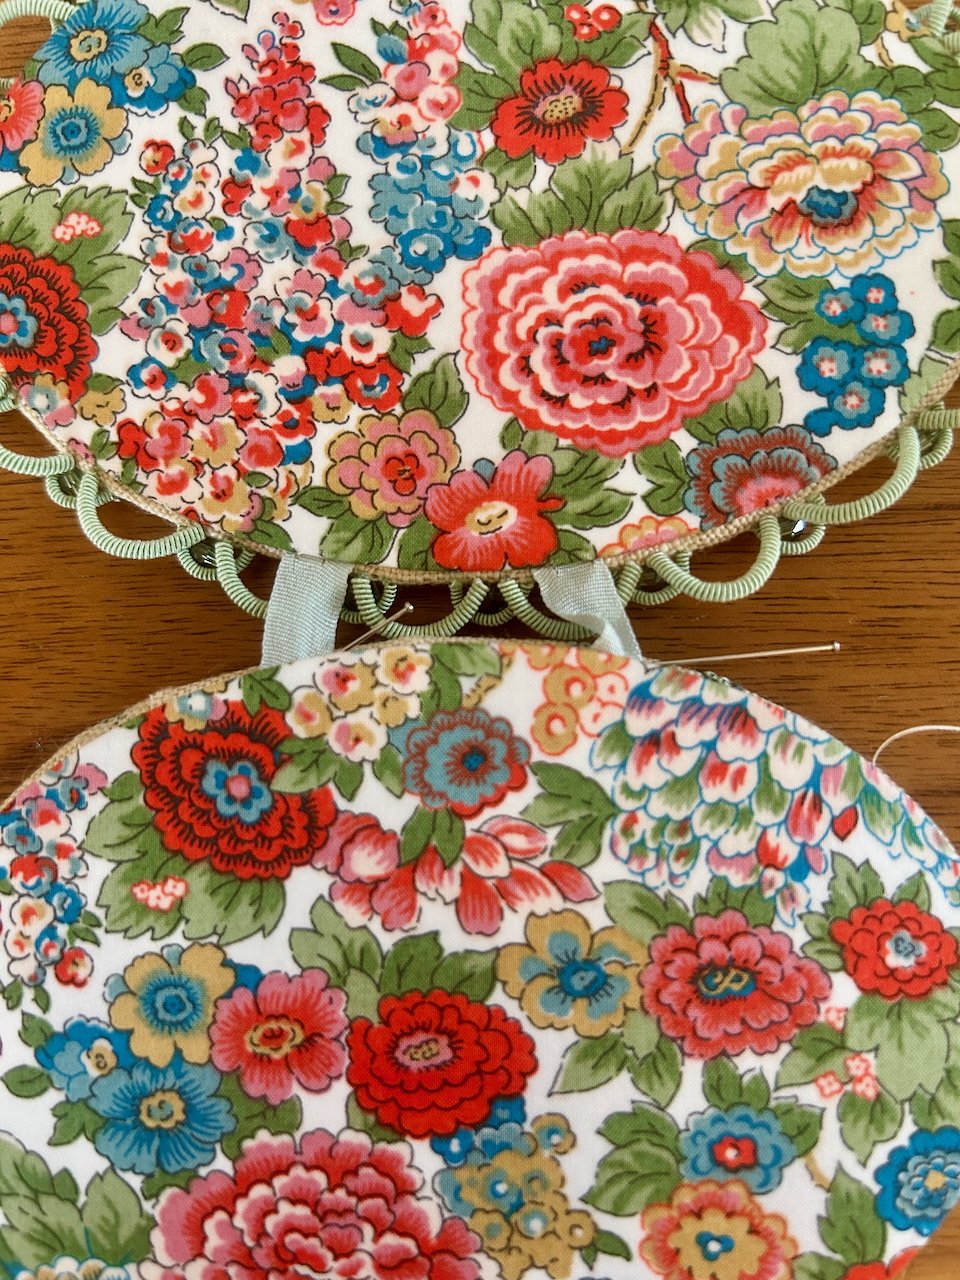
Testing that the needlebook fully opens before stitching the hinges in place
Silk wrapped purl is reasonably durable, but to keep the edging from taking any strain or wear, I chose to finish the assembly (inserting the ribbon hinges and stitching in the lining piece to secure everything) with the needlebook laid open on a table, fully supported, as seen below:
